Building a home from the ground up is one of the most exciting journeys you can take as a buyer. One of the most important milestones in that process is the pre-drywall walk, sometimes called a “dirt build walkthrough.”
This is your opportunity to see your home before the walls are closed up. It is also where clarity, confidence, and understanding really come together.
What Is a Pre-Drywall Walk?
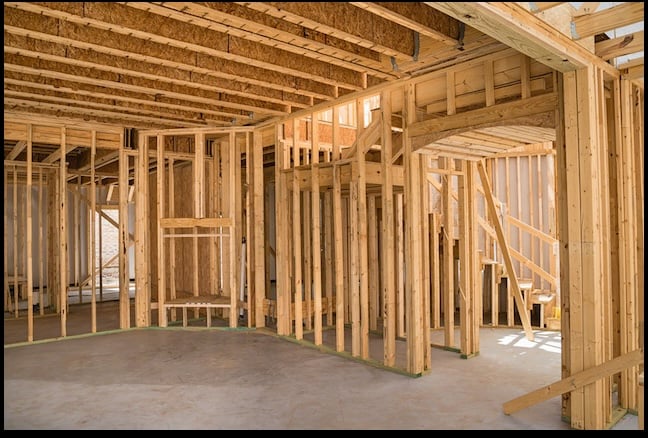
A pre-drywall walk happens after framing, electrical, plumbing, and HVAC rough-ins are complete, but before drywall is installed.
At this stage, everything behind the walls is visible. This gives you a rare and valuable look at the structure and systems of your home before they are covered up.
What Your Builder Will Review With You
During this walk, your builder will guide you through the home room by room, focusing on ensuring your selections were installed correctly according to your contract.
Key items you will review:
- Electrical placement including outlets, switches, and lighting locations
- Low voltage features such as cable, internet, and security wiring
- HVAC components and duct placement
- Plumbing rough-ins
- Structural framing and layout
You will likely be referencing:
- Your design selections
- Electrical diagrams
- Floor plans and upgrade documents
This is a verification walkthrough, not a design meeting.
This Is Not the Time to Make Changes
One of the most important expectations to set is this:
This is not the time to make changes.
At this stage, materials have been ordered, labor has been scheduled, and construction is moving forward on a tight timeline.
Instead, this walk is about:
- Confirming accuracy
- Asking questions
- Gaining a deeper understanding of your home
If something does not match your contract, this is when it should be addressed.
A Smart Move Most Buyers Do Not Know to Ask For
One of the most valuable things you can do during your pre-drywall walk is think ahead to how you will live in the home, not just how it is being built.
Ask for blocking where it matters
If you plan to mount TVs, large mirrors, or heavy artwork, this is the time to request blocking between the studs.
Blocking is additional wood installed behind the drywall that gives you a solid surface to anchor into later. It makes mounting items simple and secure, without having to search for studs or worry about weight limits.
This is especially important for:
- Living room TV walls
- Primary bedroom TV placement
- Offices or flex spaces
- Areas where you may hang heavy décor
Having this done now saves you from unnecessary drywall repairs or complicated installs later.
Why I Take Photos for You During This Walk
This is also where I step in to protect you long term.
During your walkthrough, I will take detailed photos of:
- Electrical lines
- Plumbing locations
- HVAC runs
- Utilities placed in less obvious or “odd” wall locations
These photos become incredibly valuable after closing.
They help you:
- Avoid drilling into wires or plumbing
- Safely hang art, shelves, or TVs
- Understand what is behind your walls years down the road
It is one of those small things that can prevent very expensive mistakes later.
Come Prepared and Take Advantage of the Opportunity
This is one of the best opportunities you will have to truly understand your home.
What to do during your walk:
- Ask questions about anything you do not understand
- Take photos of wiring, plumbing, and wall layouts for future reference
- Confirm outlet locations for furniture placement and functionality
- Make note of key shutoffs, systems, and access points
Before attending, you will typically be asked to:
- Stop by the model home to pick up hard hats
- Arrive on time, as these walks are often scheduled tightly
What Happens After the Pre-Drywall Walk?
Once your pre-drywall walkthrough is complete, your builder moves into the next phase of construction.
After:
- Required building inspections are completed
- Materials and vendor deliveries are confirmed
Your builder will finalize the back-end construction schedule.
You will then receive dates for:
- New Home Presentation
- Welcome Home Orientation
- Final closing
This is when everything starts to feel very real.
Countertop Selections: What You Need to Know
If you selected upgraded granite slabs for your:
- Kitchen
- Bathrooms
- Wet bar
This is the time to schedule your selection appointment.
How it works:
- Contact the countertop fabricator (if not chosen by the builder)
- Let them know you are working with your builder
- They will connect you with the correct representative
Important to understand:
- You will not be selecting an exact slab
- You will be choosing from blocks of material (typically 5 to 7 slabs)
If you selected:
- Quartz countertops
- Included granite options
You will not have a slab selection appointment.
Why This Step Matters More Than You Think
The pre-drywall walk is one of the most critical checkpoints in your home build.
It is where:
- Your vision meets reality
- Your selections are confirmed
- Your confidence in the build process grows
This step helps ensure there are no surprises once the walls are up and finished.
Final Thoughts
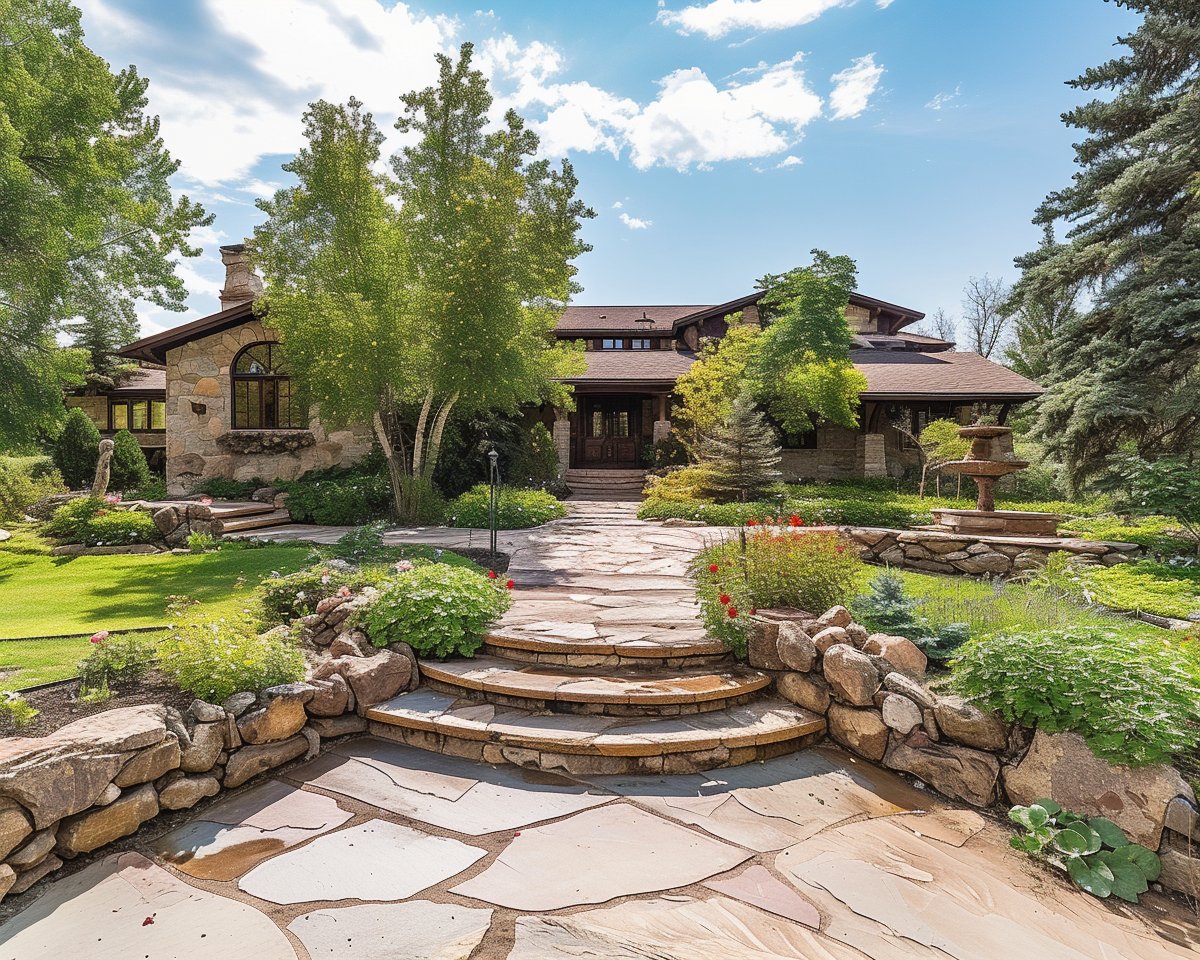
Building a home in Colorado Springs offers an incredible opportunity to create a space that truly fits your lifestyle. The pre-drywall walk is where you get to pause, step inside the process, and see how everything is coming together behind the scenes.
If you approach this walkthrough prepared and engaged, it becomes one of the most empowering parts of your home buying journey.
Thinking About Building a Home in Colorado?
If you are considering a new build or relocating to Colorado Springs, I am here to help guide you through every step, from selecting a builder to understanding each phase of construction so you feel confident and informed along the way.